 User Help Manual
  Learn FAQ
  Send us feedback
 ")


Video Editor
Use free video software to create and edit videos of any complexity from a family greeting card to a company presentation. Cut, merge video files, apply visual and audio effects, use filtration and image correction, make slideshows and add an appropriate soundtrack. Use multi-color Chroma Key and advanced parameters settings to give your video a professional look. All popular video and audio formats are supported.
Video Converter
This program is intended for converting video files from one format to another. Nearly all popular video formats are supported (both reading and saving). In addition, the program drastically simplifies the task of converting videos for playback on specific multimedia devices, such as iPhone, Samsung Galaxy or Huawei P30 Pro. The program is extremely easy to use, has a modern interface and all necessary video processing functions.
Audio Converter
The audio converter will help you convert audio files from one format to another. All key audio formats and codecs are supported. The program also allows you to manage playlists and meta tags, extract audio from video files and save these tracks on your computer in any format.
Audio CD Grabber
This audio tool is intended for grabbing audio tracks from compact discs and saving them to the user’s computer in any format. Nearly all popular audio formats and codecs are supported. The program can also extract track details from the FreeDB server for automatic file renaming and updating meta tags.
 Video Editor
 Video Converter
 Audio Converter
 Audio CD Grabber

Multifunctionality
A wide array of multimedia processing tools in one free video software suite.

High speed
Our programs use fast
and high-quality algorithms optimized for single and multi-core CPU’s.

Affordability
VSDC video software is freely available for download to Windows OS-based PCs and laptops.
News:
- This holiday season embraces new beginnings with the latest update of VSDC Video...
- Change is all about improvement, and this process wouldn't be possible without y...
- Intro In 2024 the options range for creating visual effects is incredibly dive...
- Are you ready to explore new heights with the latest major VSDC update? Finally,...
How to zoom in on a video using VSDC: instant zoom and gradual zoom
Zooming in and out on videos is one of our favorite features because it serves so many goals.
Here is just a couple of ideas on what you can achieve with it:
- Focus. Drive the attention of your viewers to a particular area or an object in your video.
- Clarification. Zoom in to give your audience a detailed view of the object you’re talking about in the video. It’s especially relevant for technical tutorials. We use quite a lot on our YouTube channel, actually.
- Drama. Ta-da! Apply the zoom-in effect just before changing a scene to create a more dramatic transition. Or gradually zoom out on a video to achieve the illusion of scaling.
And we’ve just scratched the surface!
So if you want to start using the zoom-in effect in your videos, you’re on the right page. Below, you’ll find a newbie-friendly step-by-step guide to using zoom in videos. We’ll show you both the instant zoom and the gradual zoom effects. At the end of the article, we’ll also link to the popular zoom-based effects: pan and zoom, zoom fade, and smooth zoom blur transitions.
Before starting, you’ll need to download VSDC Free Video Editor – the software we’ll be using for the tutorial. It’s absolutely free, places no watermarks on your video after export, and has no format limitations.
Download VSDC Free Video Editor (Windows only)
Now, VSDC is a non-linear video editor and provides several ways to apply the zoom-in and zoom-out effects. In this tutorial, we’ll take the easiest approach and show you how to zoom in on a video using the cropping tool. The idea behind it is that you “crop out” the area you need to show closer and set it up to take over the entire scene for the desired time.
Ready to dive in? Follow the instructions below.
How to zoom in on a video instantly
Once you’ve downloaded and launched VSDC on your computer, import a video you’ll be working with. Ideally, it should be high-quality footage so when you zoom in, it won’t look pixelated.
- When the video is added to the timeline, place the cursor at the moment in time when you’d like the zoom-in effect to go into action.
- Then go to the “Video effects” tab and select “Transforms --> Crop”.
- A pop-up window with the object’s position settings will appear. Leave everything as is and press Ok. This way, the effect will start from the cursor position and last until the end of the video.
- If you want the zooming effect to last just a few moments, simply grab the borderline of the layer and drag it to the left.
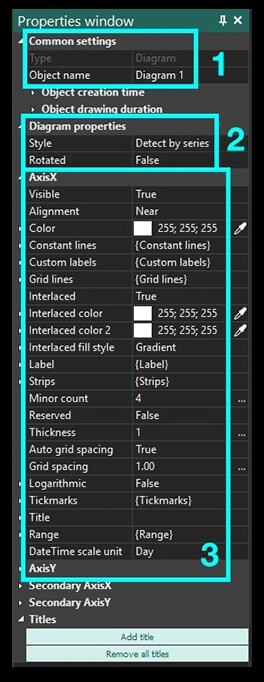
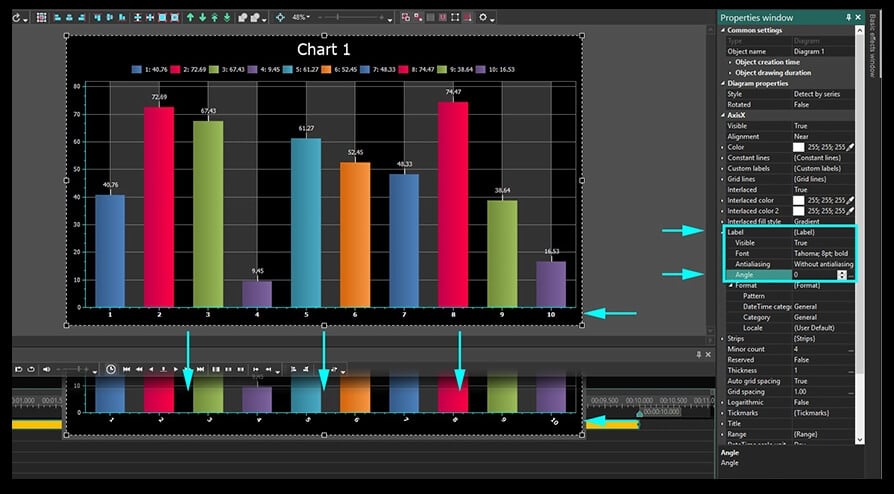
- Now go to the Properties window on the right-hand side, scroll down to “Crop effect settings” and click “Crop tools”. You’ll see a contoured frame on the video.
- Resize and move the frame to the area you want to zoom in on a video – see the illustration below.
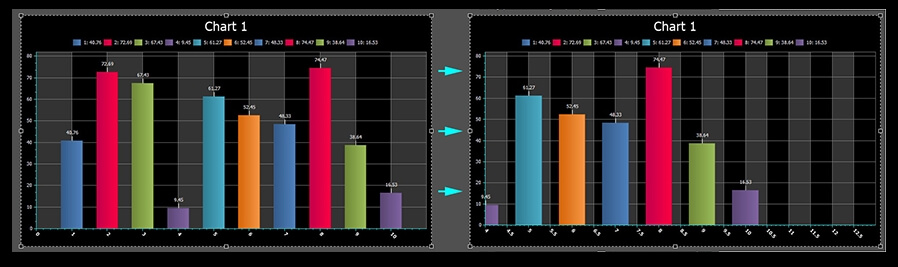
- Go back to the Properties window and use the “Apply effect” button. You’ll see that the part of the scene you selected is now cropped and enlarged in the Preview window.
- Return the cursor to the beginning of the scene and check the result. Stretch, shrink, or move the Crop effect layer on the timeline if needed.
How to zoom in on a video gradually
Gradual zoom looks smoother and makes a perfect transition between scenes. In VSDC, gradual zoom can be applied via the cropping tool, too. Half of the steps will repeat the above-described path, so feel free to jump to step #5.
- When the video is added to the timeline, place the cursor to the moment in time when you’d like the zoom-in effect to go into action.
- Then go to the “Video effects” tab and select “Transforms --> Crop”.
- A pop-up window with the object’s position settings will appear. Leave everything as is and press Ok. This way, the effect will start from the cursor position and last until the end of the video.
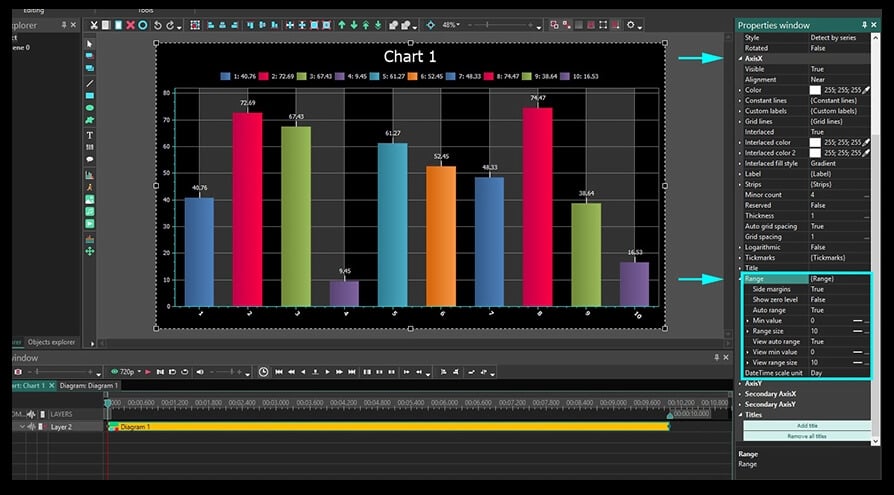
- Now go to the Properties window on the right-hand side, scroll down to “Crop effect settings” and click “Crop tools”. You’ll see a contoured frame on the video.
- Resize and move the frame to the area you want to zoom in.
- Now go to the Properties window and scroll down to the “Cropped borders” menu. There are 4 borders there: Left, Top, Right, and Bottom. Notice that each one has a coordinate and a dash in front of it. Click on the dash once to switch from “Constant parameter value” to “Linear parameter change”.
- Once you do that, each border will have 2 coordinate values: one for the beginning of the effect and one for the end of the effect. That means zooming will be stretched over time.
- Set the initial values for each border to the following:
- Left - 0
- Top - 0
- Right - 100
- Bottom – 100
Notice that the final values should remain untouched since step #5. Having the initial and the final values differ is the whole point of gradual zoom.
- Use the “Apply effect” button and preview the result.
Now, using the same logic, you can apply a gradual zoom-out effect. The only difference here will be that the values 0; 0; 100; 100 should be set for the final coordinates of each border.
Remember, you can always adjust the duration of the effect as well as the time it starts and finishes. To do that, grab the Crop layer and move it back or forward on the timeline. Once you’re happy with how the effect looks, go ahead and save the video to your PC using the “Export project” tab.
Awesome effects and transitions involving zooming in on a video
Hopefully, you’ve got the idea and now will be able to replicate the zooming effect for your projects. Once you get the hang of it, you might want to check out the following video tutorials showing how this feature can be used for adding dynamics to your video:
- Pan and zoom effect. Also known as Ken Burns effect and originally used to add motion to still images, it allows for focusing on details and panning across the scene.
- Zoom blur transition is one of the most popular transitions on the Internet. It creates such incredibly capturing dynamics that will probably save even the most boring video.
- Zoom fade transition looks great when applied to titles as well as images or videos and might serve well for opening scenes.
Some of these tutorials employ VSDC Pro features available in the premium subscription. However, the subscription is only $19.99, it’s valid for a year and is certainly worth the money if you’re enthusiastic about video editing.
Subscribe to VSDC YouTube channel for more inspiration!
You can get more information about the program on Free Video Editor' description page.


This program allows you to capture the video of your desktop and save it on your PC in various formats. Coupled with a video editor, the program is a great tool for creating presentations, tutorials and demo videos.

The program captures video from external devices and records it to computer in a free format. You can save video from video tuners, webcams, capture cards and other gadgets.

"VSDC Free Video Editor is a surprisingly powerful, if unconventional video editor"
- PC Advisor

"This video editor gives you tons of control and editing power"
- CNet

"The editor handles many common formats and boasts a good deal of capabilities when it comes time to alter lighting, splice video, and apply filters and transitions in post production"
- Digital Trends
© 2011-2025, www.videosoftdev.com, FLASH-INTEGRO LLC. Privacy policy | Terms of use | About us
All trademarks referenced herein are the sole property of their respective owners.
Copying any materials from this site allowed only with written consent of Site Administration.