 User Help Manual
  Learn FAQ
  Send us feedback
 ")


Video Editor
Use free video software to create and edit videos of any complexity from a family greeting card to a company presentation. Cut, merge video files, apply visual and audio effects, use filtration and image correction, make slideshows and add an appropriate soundtrack. Use multi-color Chroma Key and advanced parameters settings to give your video a professional look. All popular video and audio formats are supported.
Video Converter
This program is intended for converting video files from one format to another. Nearly all popular video formats are supported (both reading and saving). In addition, the program drastically simplifies the task of converting videos for playback on specific multimedia devices, such as iPhone, Samsung Galaxy or Huawei P30 Pro. The program is extremely easy to use, has a modern interface and all necessary video processing functions.
Audio Converter
The audio converter will help you convert audio files from one format to another. All key audio formats and codecs are supported. The program also allows you to manage playlists and meta tags, extract audio from video files and save these tracks on your computer in any format.
Audio CD Grabber
This audio tool is intended for grabbing audio tracks from compact discs and saving them to the user’s computer in any format. Nearly all popular audio formats and codecs are supported. The program can also extract track details from the FreeDB server for automatic file renaming and updating meta tags.
 Video Editor
 Video Converter
 Audio Converter
 Audio CD Grabber

Multifunctionality
A wide array of multimedia processing tools in one free video software suite.

High speed
Our programs use fast
and high-quality algorithms optimized for single and multi-core CPU’s.

Affordability
VSDC video software is freely available for download to Windows OS-based PCs and laptops.
News:
- This holiday season embraces new beginnings with the latest update of VSDC Video...
- Change is all about improvement, and this process wouldn't be possible without y...
- Intro In 2024 the options range for creating visual effects is incredibly dive...
- Are you ready to explore new heights with the latest major VSDC update? Finally,...
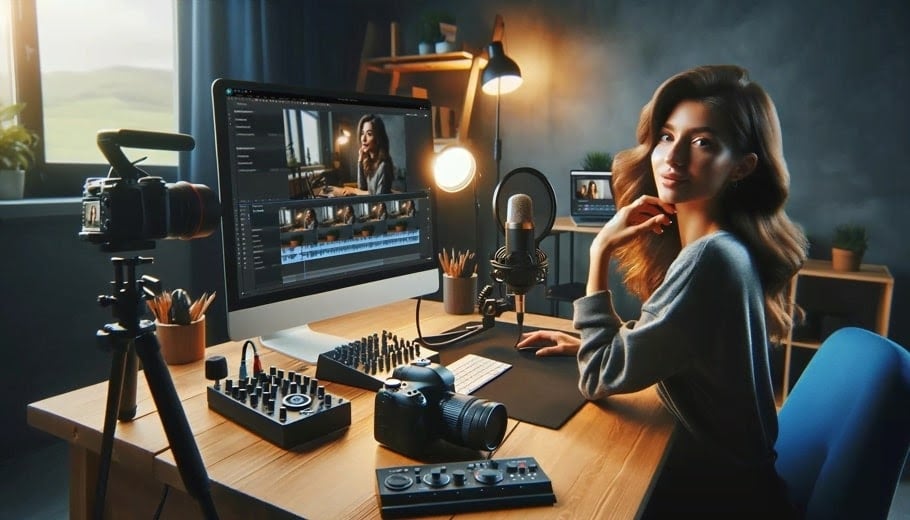
How to Make ASMR Video: Step-By-Step Guide
ASMR videos are a trending form of immersive content that rack up millions of views on YouTube. This step-by-step guide will show you how to create your own ASMR video, from equipment selection to triggering responses. Whether you're new to ASMR or an experienced creator, join us to unlock the secrets of ASMR content.
What are ASMR videos?
Millions of people subscribe to ASMR (Autonomous Sensory Meridian Response) channels and enjoy videos that help them relax or fall asleep. Over the last decade, ASMR has gained huge popularity, leading to more than 500,000 YouTube channels dedicated to it. ASMRtists (the term now used for bloggers of this genre) have together created about 25 million ASMR videos for these channels.
So what's the secret behind ASMR's success?
According to Cambridge Dictionary, ASMR is a pleasant tingling feeling that some people experience on their skin, especially on the head and neck, especially when they hear certain soft sounds such as whispering or brushing.
The term ASMR itself appeared in 2010 thanks to Jennifer Allen, although this phenomenon is known to us much earlier. Do you remember the Coca-Cola sound logo from the 1970s, the one with the fizz and pop after opening the bottle? This was an early example of an ASMR-like commercial, even though the term ASMR wasn't known back then.

Now prominent industrial corporations include ASMR into their advertising campaigns, while small businesses harness it to swiftly establish a viral presence.
So, what makes these videos so appealing to people? It's all about certain triggers that affect the viewer. These triggers not only activate the brain part related to social behavior, but also make the brain's reward system light up. In simpler terms, these videos make viewers feel more connected, happy and relaxed.
So what are the enigmatic triggers in ASMR that captivate audiences and accumulate millions of views? Here're the most popular ones:
- Whispering: Soft, gentle whispering close to the microphone.
- Tapping: Light tapping on various surfaces, such as wood, glass, or plastic.
- Scratching: Gentle scratching sounds on textured surfaces.
- Page Turning: The sound of flipping through the pages of a book.
- Eating Sounds: The sound of chewing, typically with crunchy or sticky foods.
- Brushing Sounds: Using makeup or paintbrushes on different materials.
- Crisp Sounds: Manipulating paper, plastic, or foil for sharp, crackling sounds.
- Water Sounds: Dripping or pouring water, or sounds of waves or rain.
- Keyboard Typing: The clacking of computer keys.
- Finger Fluttering: Rapid movement of fingers close to the microphone.
- Personal Attention Roleplays: Pretending to give the viewer a haircut, makeup session, or doctor's checkup.
These triggers are often mixed and matched to create varied and engaging ASMR experiences for the audience.
Best Editing Software for ASMR Videos
ASMR video editor should have several key features to enhance the unique qualities of ASMR content:
 Download Video Editor
High-Quality Audio Editing Capabilities: ASMR videos rely heavily on sound quality, so the ability to edit and enhance audio is crucial.
- Noise reduction
- Compression
- De-reverbing
- Equalizer
- Sound effects can greatly improve the ASMR experience.
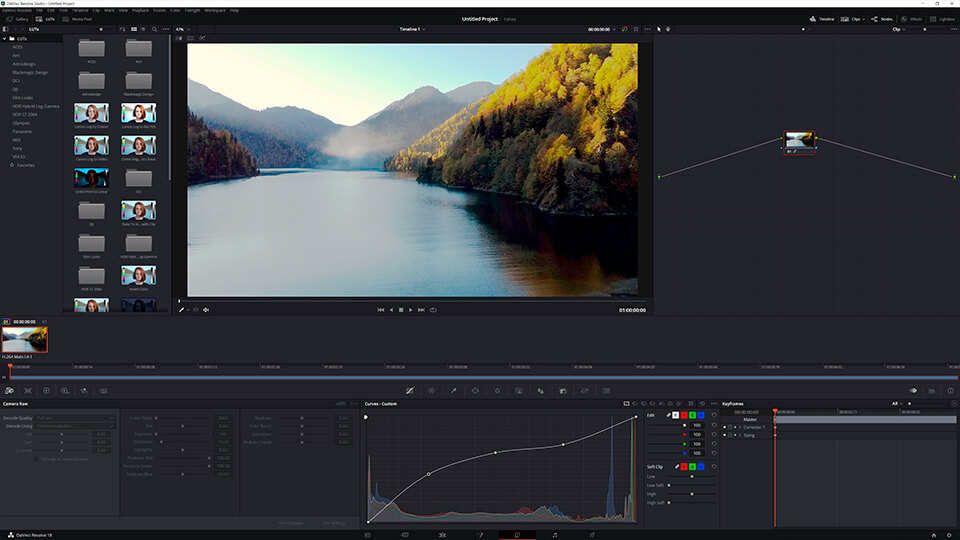
Our choice. DaVinci Resolve has come a long way from a color correction and grading tool to a decent audio editor. Its Fairlight tool offers essential audio enhancement tools, such as a compressor to minimize volume disparities between the loudest and quietest sounds, an equalizer to address certain audio issues, de-reverb plug-in to remove echo effects, and various audio filters.
Fine-Tuned Video Editing Tools: Though ASMR videos are also called “ear-to-ear sounds”, the visual aspect is equally crucial. ASMRtists often play mini-dramas, applying wide shots and close-ups with macro lens to obtain a more immersive picture. Here, accuracy is essential. Your editor should possess advanced cutting, trimming, and merging tools to ensure seamless transitions and keep the ASMR atmosphere throughout the video.
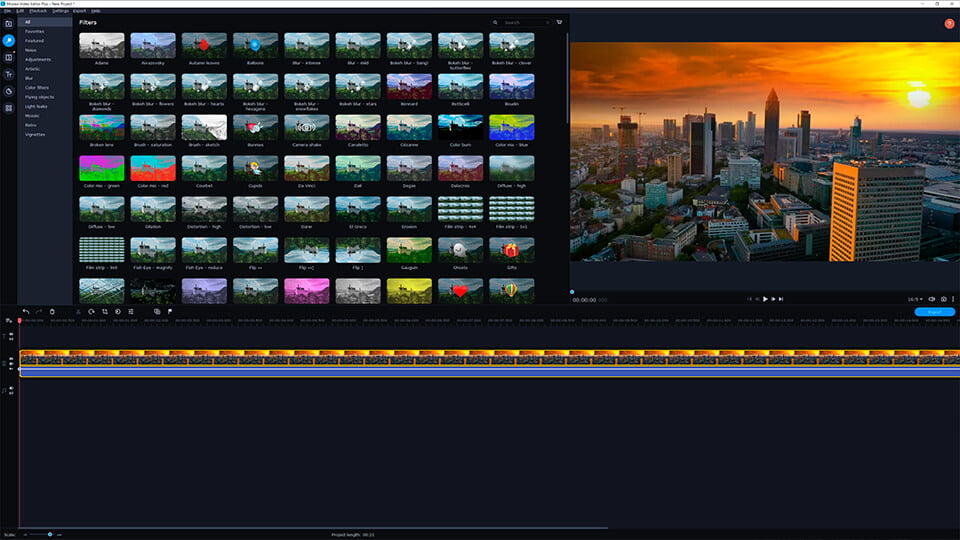
Our Choice. VSDC Video Editor is great for handling multi-track projects. It’s not a secret that ASMR artists don’t use camera audio, preferring the rich sound quality from a mic. With VSDC, you can easily separate the original video into video and audio tracks, then add the mic-recorded audio and make a super precise synchronization.
If you're adding roleplay to your ASMR video and capturing your story from various angles, VSDC provides plenty of crossfades to seamlessly blend wide shots and close-ups for engaging storytelling. And if the standard transitions don't match your vision, VSDC gives you the tools to create your own.
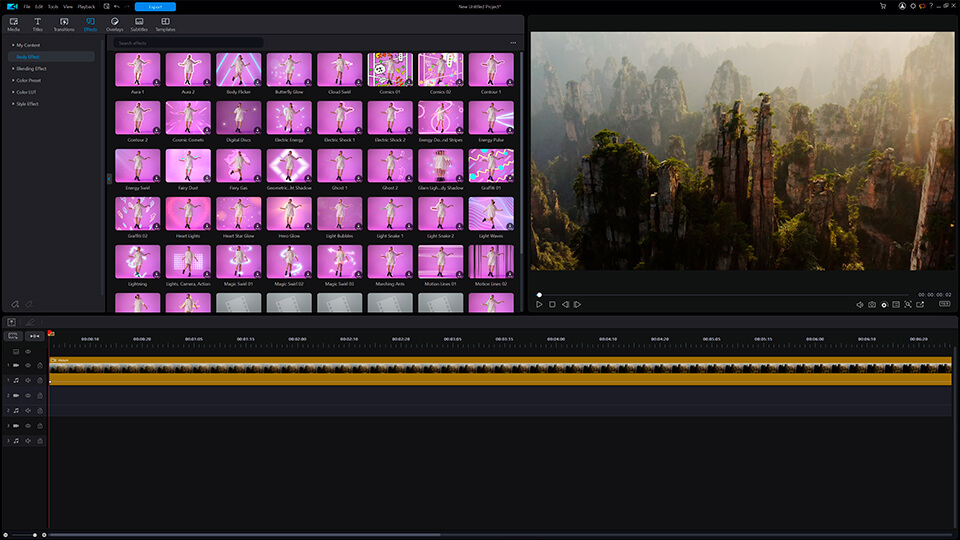
Visual Effects and Filters: Adding subtle visual effects & filters can enhance the visual appeal of ASMR videos without distracting from the audio experience.
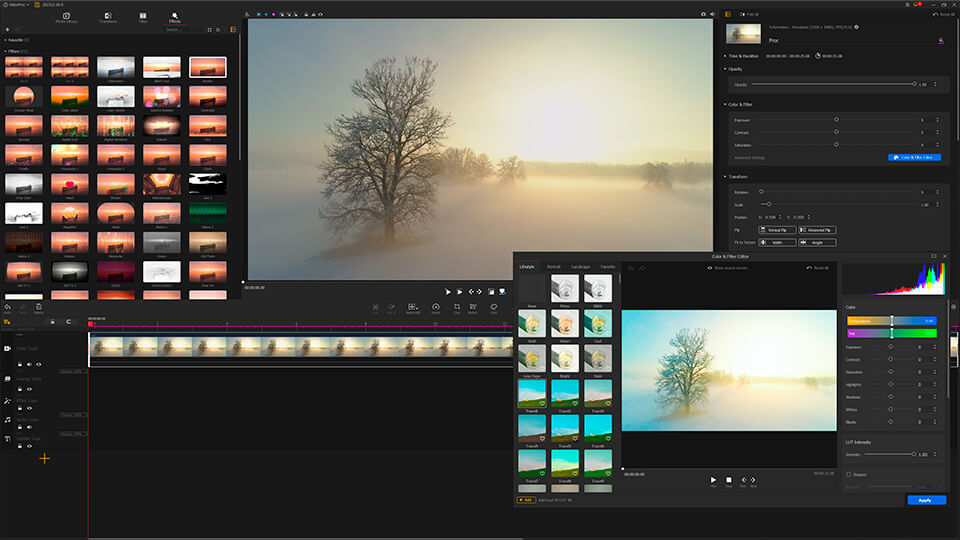
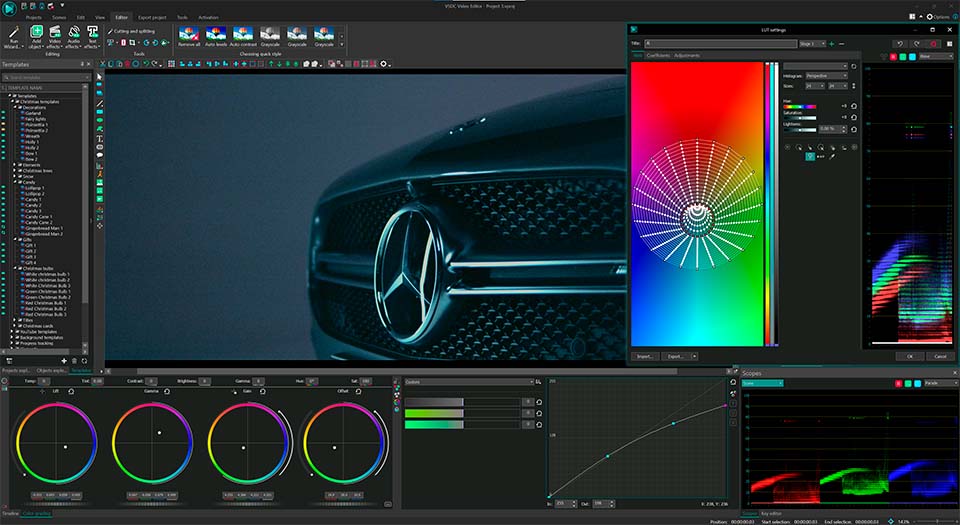
Our Choice. Good lighting and a top-notch camera can make filming easier and reduce the time needed for post-production. However, videographers often aim to do more than just improve the overall image; they might want to highlight specific elements like hair color, makeup, tools, or add darker tones to create a more intimate atmosphere in the video. This is where VSDC Video Editor comes in handy. Its Lift, Gamma and Gain control wheels help you change the entire color tone composition of the video in a couple of clicks. Adjusting the brightness and contrast levels with VSDC’s RGB curves can significantly improve the overall appearance of the video.
You may also elevate ASMR videos in VSDC by incorporating visual effects onto the waveform or even visualizing your audio with VSDC's audio spectrum.
What to you need to make an ASMR video
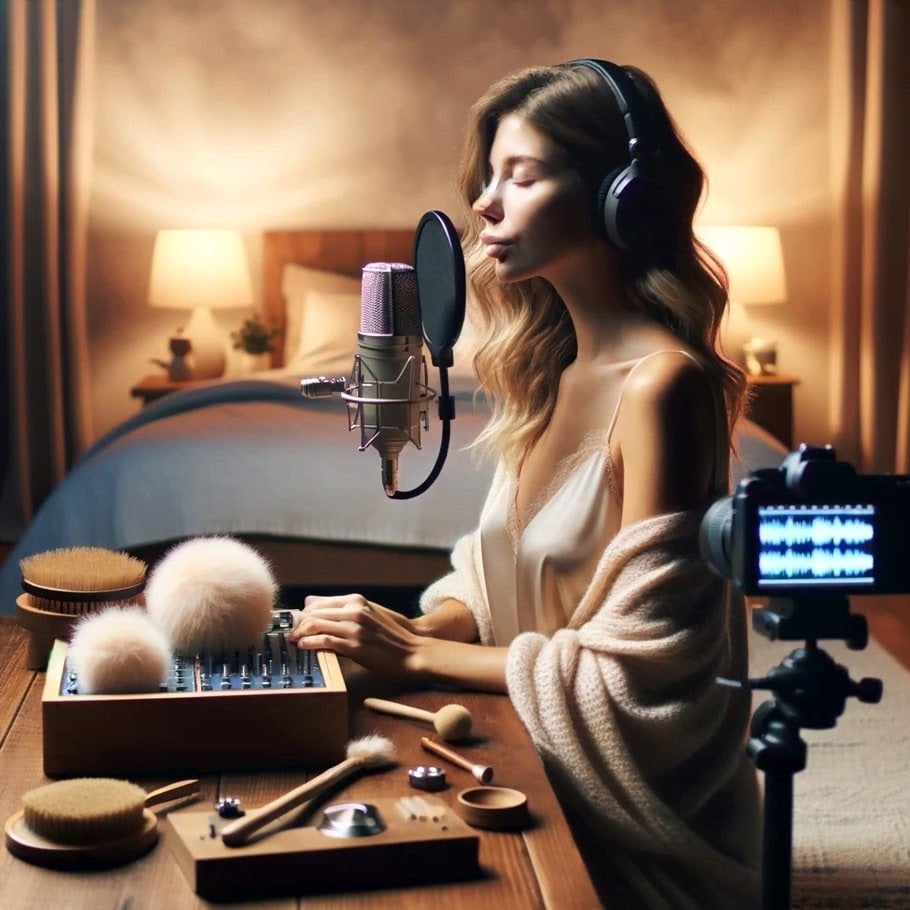
A Room
It might seem unusual, but many ASMR creators prefer to film their videos at night to capture the quietest environment possible. Indeed, a small, quiet room at night is the ideal setting for an ASMR blogger.
But why a small room? The answer lies in audio post-production: larger spaces tend to cause echoes. While audio editing software offers automatic echo removal, this can sometimes interfere with the subtle nuances of ASMR audio, where every detail of the voice is crucial. On the other hand, manually removing echo is a detailed and intricate process.
Equipment
Microphones for ASMR: The core of ASMR recording is the microphone. You can use a single microphone, a dual-mic arrangement on a specialized stand for stereo sound, or even opt for a binaural microphone, which can capture 3D sound. The latter is particularly popular among ASMR artists because it replicates the way human ears perceive sound, thus creating a more immersive experience.
Audio Interface: While you can plug some microphones straight into a computer, utilizing an audio box offers a notable boost in sound quality. It fine-tunes the left and right channel volumes, ensuring a clear stereo sound is established before you start recording.
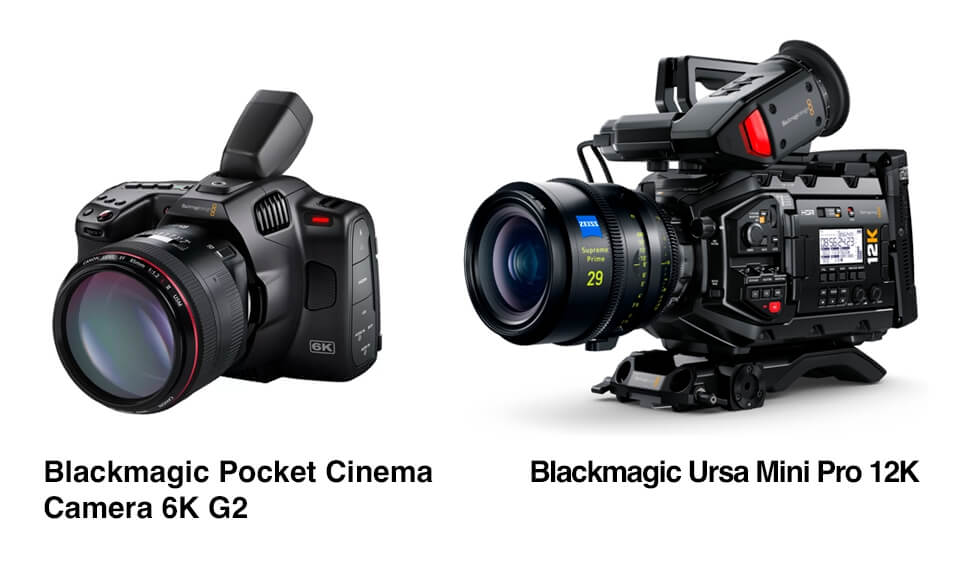
Camera: In the realm of ASMR content creation, choosing the right camera can be the key to unlocking a world of sensory enchantment. A top-tier ASMR camera should feature ultra-high-definition video recording, low-light performance, and a high frame rate option, ensuring crisp, clear visuals that capture every detail.
Lighting: Proper lighting is essential for creating the right visual atmosphere in ASMR videos. Soft, diffused lighting helps to create a calming and inviting space. Ring lights or softbox lights can provide even lighting that enhances the visual quality without being too harsh or creating unwanted shadows.
Accessories and Props: ASMR often involves various props to create specific sounds, such as brushes, tapping surfaces, or crinkly materials.
High-quality headphones are also a must-have for ASMR artists to monitor audio in real-time, ensuring the sounds are triggering the intended response.
Editing Software or App
If you're new to making ASMR videos, you don't need to spend a lot on editing software right away. A good option to try is VSDC, DaVinci Resolve, Lightworks or HitFilm. Not all of them are easy to use for beginners (VSDC and HitFilm go well), but all of them have basic tools you need to edit your ASMR content.
How to Shoot and Record an ASMR Video?
Ready to make your first ASMR video? Here's a quick guide to get started:
Choose Your Trigger: Start with a trigger strategy: whispering, tapping, eating sounds, role-playing, skincare/makeup - what would you prefer? Pick what feels natural to you; your unique vibes will resonate with the viewers, enhancing their ASMR experience.
Prepare Your Space: Soundproof your room to prevent echoes. Use sheets, furniture, or acoustic foam to absorb sound. Choose an interior room or film at night to minimize noise. Make sure the room looks tidy and has soft lighting.
Test Audio and Video: Practice with your microphone and props to ensure clear sound without harsh noises. Check how you appear on camera and adjust lighting and angles as needed.
Record: Use a soft, soothing voice and maintain a neat appearance. Ensure your recording equipment has enough power for the session, which could last up to 4 hours.
How to Edit an ASMR Video?
Congrats, your first ASMR video is ready. What’s next?
Import Files: Make sure you have enough storage for your video, especially if it's long. For camera footage, connect your camera or insert the SD card into your computer. If using a phone, transfer files to your computer or edit on your device.
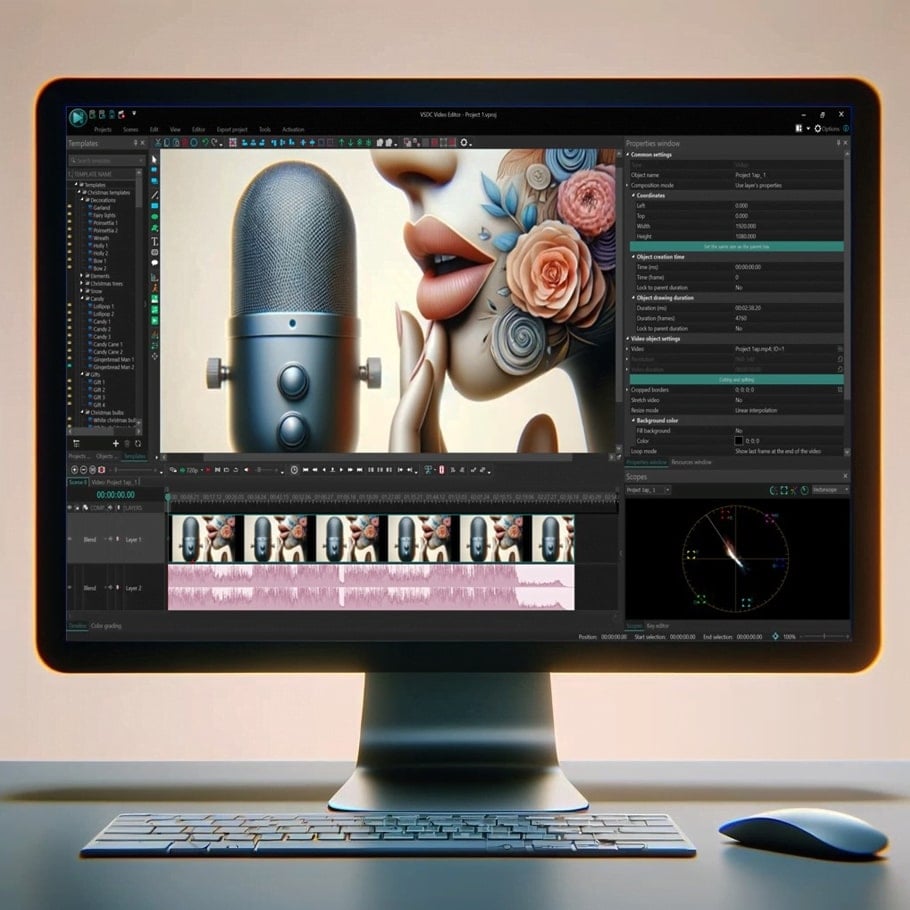
Organize Timeline: Drag your video and audio files to the editing timeline. Arrange them in the desired order - you can adjust their position anytime. VSDC Video Editor excels in this regard: it allows you to seamlessly drag various file types into the application, where they are automatically converted and placed on the timeline. Thanks to VSDC’s non-linear editing capabilities, the app enables you to rearrange these elements following your post-production idea.
Edit Video: Apply basic editing (you don’t need much!), add filters and any extra effects. Include an intro and outro with your branding to attract viewers.
Add Transitions and Effects: Smooth transitions between clips are essential in ASMR videos to maintain a calming effect. Explore transitions and special effects like green screen to enhance visual appeal.
Adjust Audio: Remove background noise, apply de-reverbing to correct any audio issues, add any extra sound effects. You may add background music or sound effects as needed.
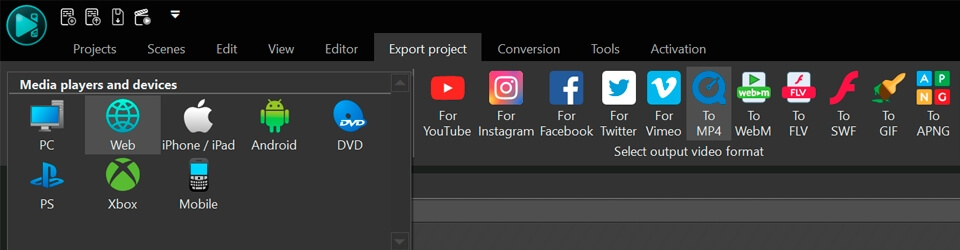
Export and Share: Once editing is complete, select the optimal output format and click “Export Project”.
This streamlined approach focuses on essential editing steps to ensure your ASMR video is engaging and high quality.
Tips
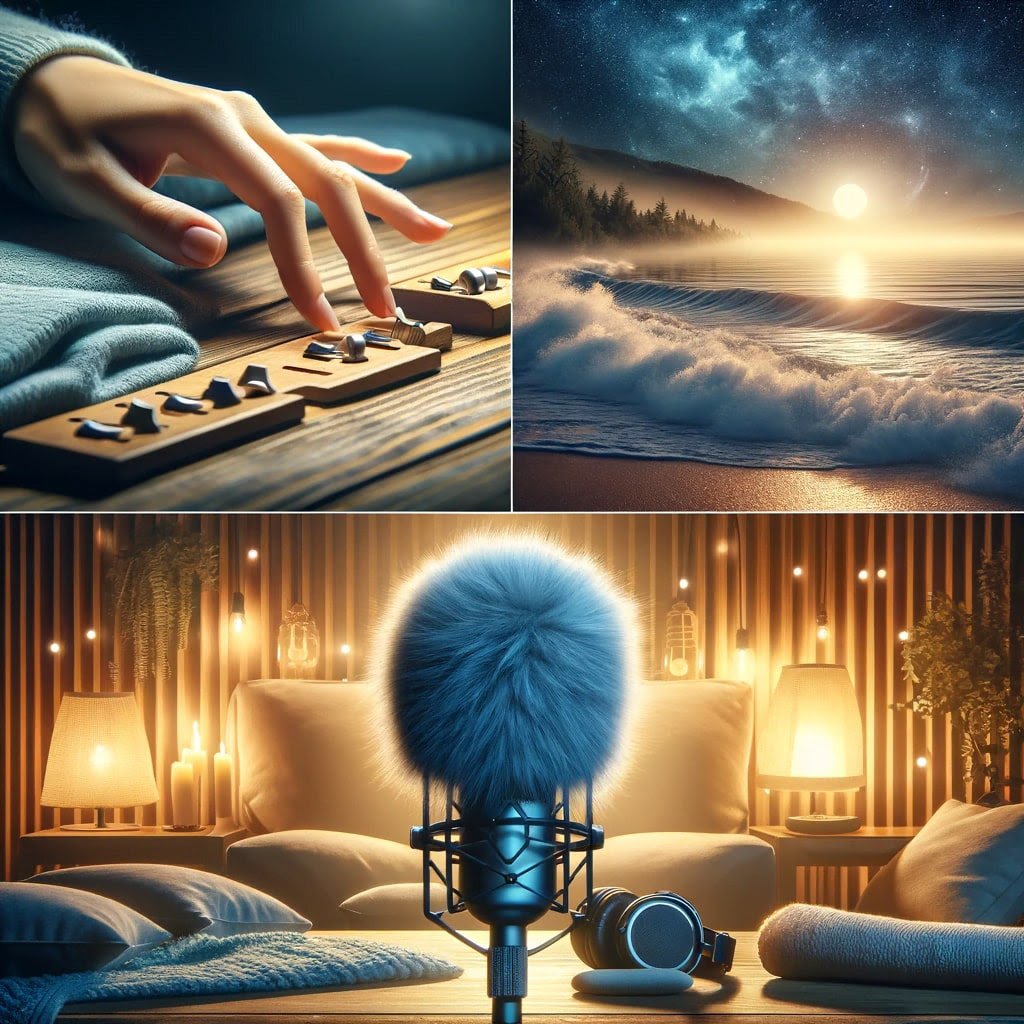
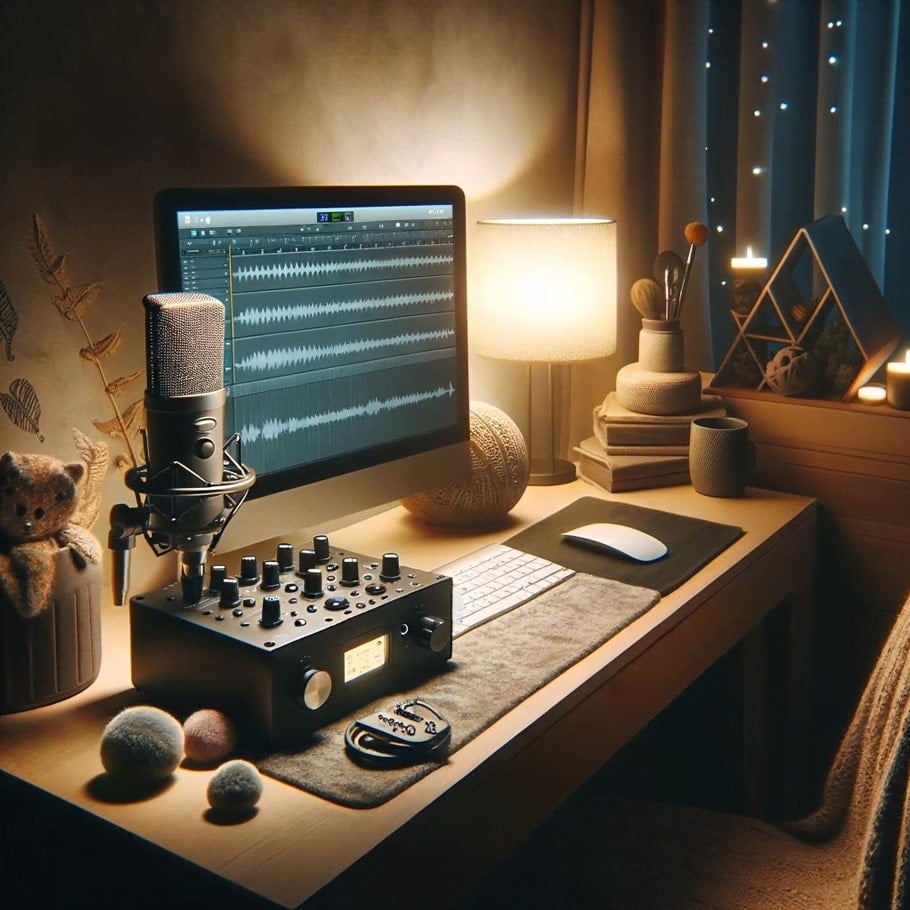
Mic positioning
The nuances of voice play a pivotal role for ASMR artists, as they significantly impact the sensory responses of the listener. It's a good idea to use two microphones instead of just one. This way, you get a richer stereo sound that seems to wrap around you, coming from both the left and right sides. You can also try moving the microphones closer or farther from each other to change the sound.
Pop filter for mic proximity effect
ASMR artists like to use the proximity effect to give their voice a warmer, richer, and more intimate quality. This technique involves speaking closely to the microphone, making the listening experience much more personal and engaging.
To avoid the explosive sound caused by plosives (like "p" or "b" sounds) hitting the microphone, a "pop filter" or "pop shield" is used. This device is placed between the speaker's mouth and the microphone. It acts as a barrier that disperses the air pressure from these sounds, thereby reducing the popping sound that can distort audio recordings. Pop filters are essential for creating clear, professional-sounding audio for voice recordings, singing, broadcasting, and ASMR content.
Manual (or very moderate) de-noise and de-reverb effects
De-noise and de-reverbing features aren't really meant for extremely quiet sounds. These tools might affect the voice or sound you're aiming to capture. Using about 5% de-noise is okay. Going beyond 10% almost certainly leads to clipping, especially with background noises.
No hard cuts, only crossfades
Soothing transitions are crucial in ASMR videos to maintain the immersive and relaxing experience. Abrupt cuts can jar the listener out of the state of relaxation, disrupting the flow and effectiveness of the ASMR triggers. Instead, using crossfades between scenes ensures a seamless and gentle transition, helping to preserve the tranquil atmosphere.
Mix ASMR triggers
We've compiled a list of the top ASMR triggers above. Mix and match them to achieve the ultimate experience.
Instead of conclusion
ASMR content can be a fulfilling and accessible way to promote relaxation and better sleep for both content creators and their audiences. And it actually is - millions of views and remarkable popularity of this genre serve as evidence of its appeal.
One of the remarkable aspects of ASMR content creation is that you don't necessarily need an expensive editor to get started. With just basic audio and video editing software, you can produce high-quality ASMR content that can have a profound impact on viewers.


This program allows you to capture the video of your desktop and save it on your PC in various formats. Coupled with a video editor, the program is a great tool for creating presentations, tutorials and demo videos.

The program captures video from external devices and records it to computer in a free format. You can save video from video tuners, webcams, capture cards and other gadgets.

"VSDC Free Video Editor is a surprisingly powerful, if unconventional video editor"
- PC Advisor

"This video editor gives you tons of control and editing power"
- CNet

"The editor handles many common formats and boasts a good deal of capabilities when it comes time to alter lighting, splice video, and apply filters and transitions in post production"
- Digital Trends
© 2011-2025, www.videosoftdev.com, FLASH-INTEGRO LLC. Privacy policy | Terms of use | About us
All trademarks referenced herein are the sole property of their respective owners.
Copying any materials from this site allowed only with written consent of Site Administration.